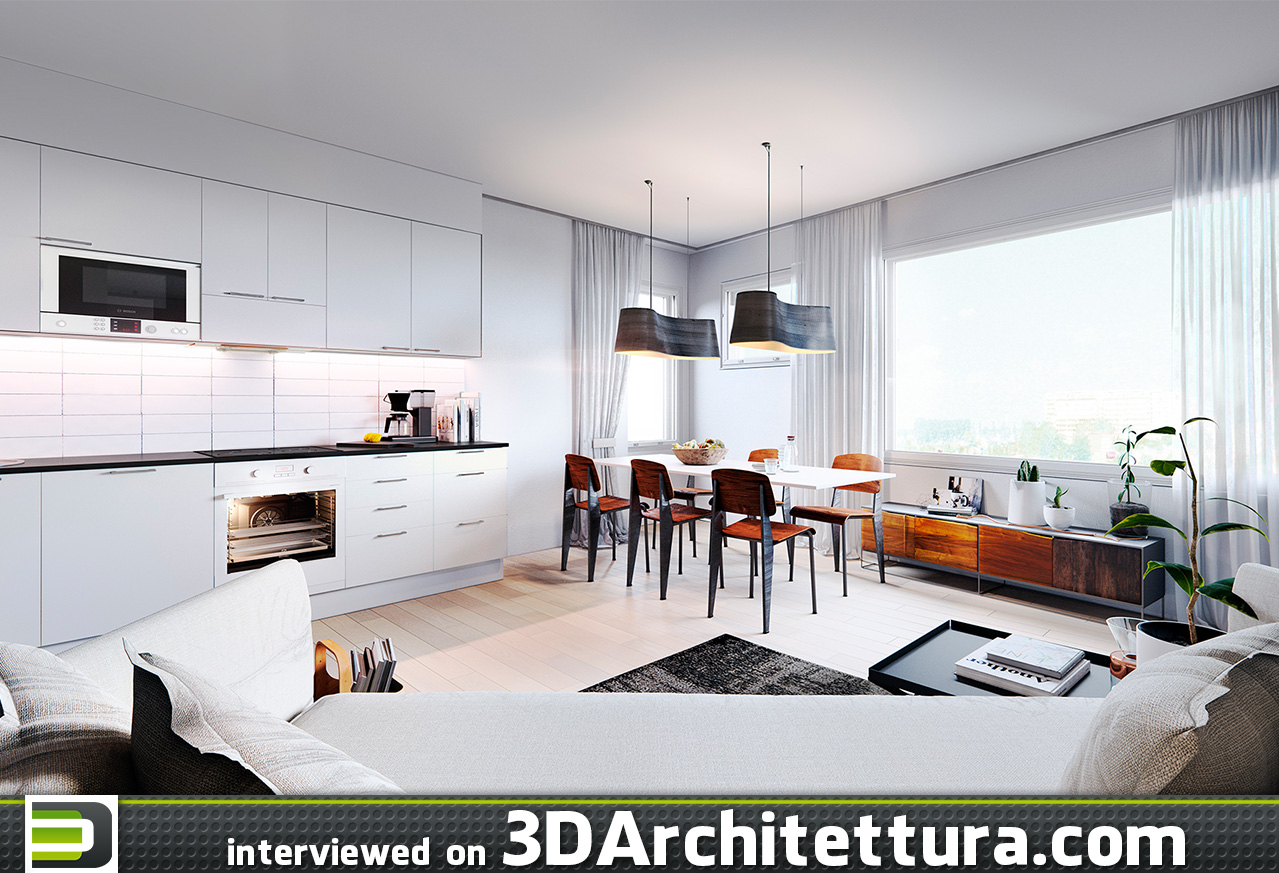
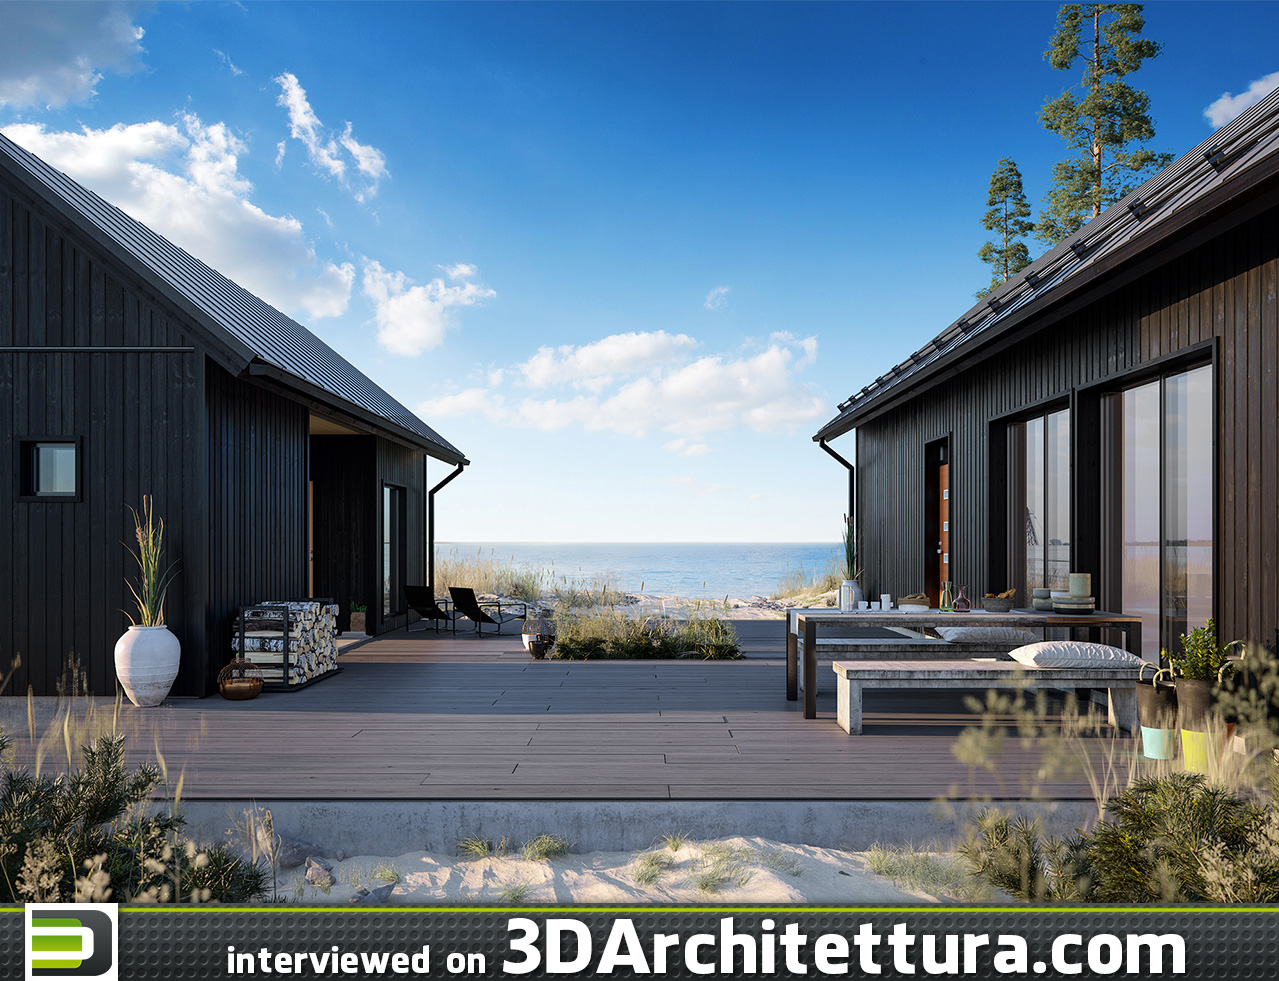
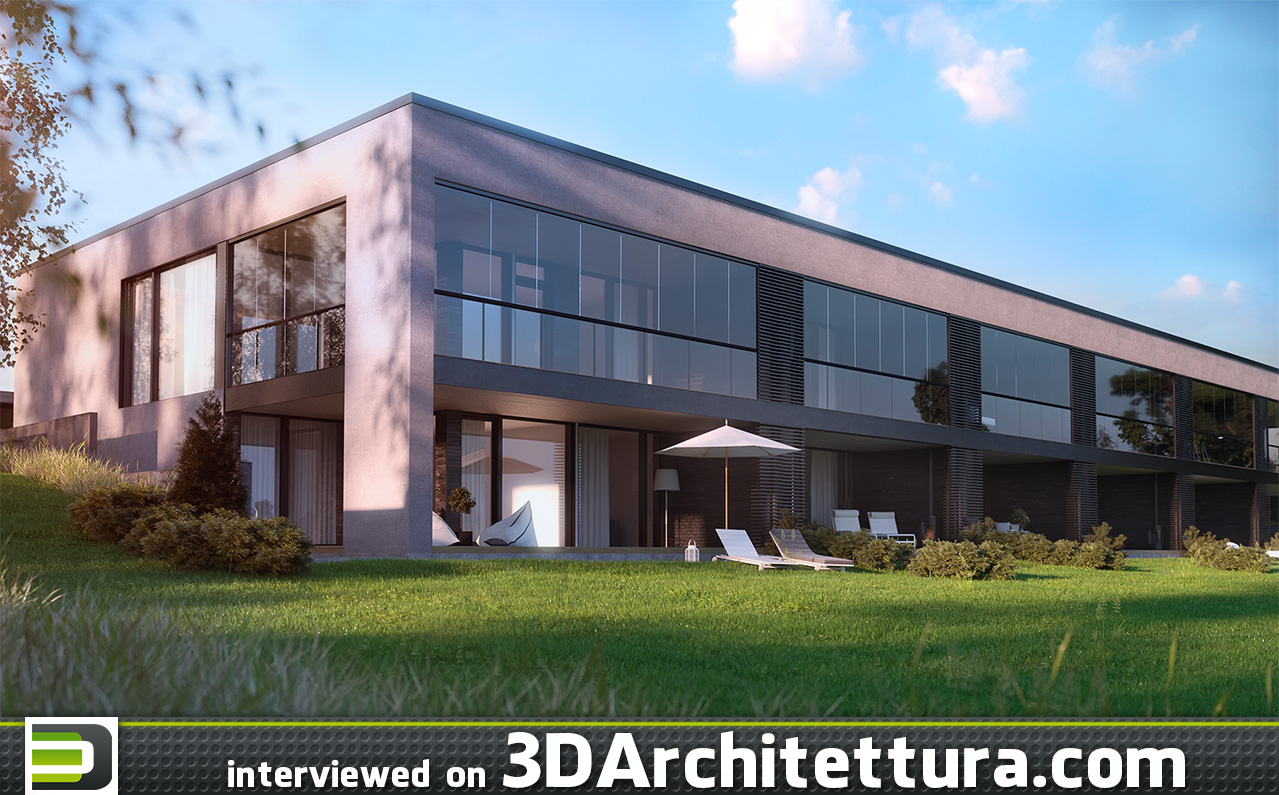
I dropped out of school when I was obsessed enough with Max and render engines, spending 12-14 hours a day just testing every area. After some time I started getting contacts via the forums where I had posted my renderings to share with others.
How did you start your career in ArchViz?
I drifted towards 3D archviz in around 2004. I was trying to study and get decent education but studying under supervision seemed like such a waste – everyone was always going for coffee breaks, smoke breaks, lunch hour lasted literally for almost an entire hour while the actual classes were 45 minutes long and the teachers were keen on grabbing any excuse to leave the class and let us “interact and innovate”. I tried two different schools and when I had free time, which was often, I spent said time studying 3DS Max at school after the classes were over and during the end even when I was supposed to be in class learning something entirely different.
Ville Kiuru
Country: Finland
Age: 33
Job: ArchViz
Website:
www.villekiuru.com
I was really impressed by the technology and spent weeks learning to model a bonzai tree which, if I remember correctly, was a 3Dtotal.com tutorial and looked advanced by that times’ standards. Mine looked awful but in the end it was a computer generated image which I had made so the quality didn’t matter, it was enough to see I could get something out of the pretty daunting interface that Max has when you look at it for the first time :) I dropped out of school when I was obsessed enough with Max and render engines, spending 12-14 hours a day just testing every area. After some time I started getting contacts via the forums where I had posted my renderings to share with others.
Overall I think I can thank the educational system for my business, in a way :)
What is your usual workflow for rendering projects?
My usual workflow is to either model the site from 2D DWGs or clean up and refine a Revit or Archicad model a client has sent. After that I set up materials for major surfaces like the floor and walls so I get an idea how which lighting scenario would look/feel, and go from there swapping between the three; modeling, materials and lighting. I use regular plugins like iToo Forest Pack, Walls and Tiles, free maps like Bercon maps made by Jerry Ylilammi, Corona renderer for rendering, Photoshop for post pro..
Apart from the mentioned Revit and Archicad models, I usually make all the projects by myself from scratch.
What is your advice to the students who want to achieve photorealism in their renders?
For lighting, learn basic photography and understand things like white balance etc. Usually with the lighting setup I find it the simpler the setup, the easier it is to get good result out of it.
For materials I would recommend a camera workflow here too :) find an even lighted target, like a brick wall on a cloudy day and set your light balance and exposure right. Take a decent amount of pictures doing your best to eliminate perspective distortion and remember to have both exposure and white balance at manual so the images line up as closely as possible. Take this back to your work space and pick apart the best ones (the ones with less motion blur or accidental changes in focal depth etc) and follow any decent Youtube video on how to stitch up your textures and get good reflection, bump and displacement channels for it too.
The reason I suggest this workflow is when you’ve been on the location yourself, the surface is “personal” to you in a whole different way than when you work on a texture you’ve found on the internet. I hope this makes sense :) Don’t rely on other peoples interpretations of surface materials even if they have a price tag on them. A cost might not necessarily have anything to do with quality.
This doesn’t mean never use textures found on the net, there are great sites around for floor boards and such necessities :)
Do you have your own know-how for creating photo-realistic vegetation?
Again, get your camera out, or lend one from a friend, and spend some time photographing leaves and wood trunks, taking reference pictures of the same tree both from shadow and sunlight side so you see how different the leaves on the two scenarios can look. Don’t rely on your eyes when matching materials like these (in fact, never do because our eyes adapt to exposure in a whole different way than cameras and render engines).
Personally I use Exlevel GrowFX for the modeling part and the shaders, well, sometimes the tree trunk textures are from bought collections but for the leaves I try to get a good diffuse channel and then expand the reflection/glossy from desaturated versions (actually leaving a slight tint of green to reflection channel lends to a lively organic feel on occasions). Translucency should be about half of the equation, with a lifted gamma and saturation while I almost always tend to desaturate and lower gamma on the texture of diffuse channel. A good normal map and not being cheap on the amount of polygons per leaf makes a big difference!
What are your plans for the future?
I hope I get enough time to learn a real-time engine and get on board the VR tech as soon as possible.. I’ve actually started with Oculus DK2 and Unreal Engine 4 and it seems like simple enough a process. I think it is going to be more than a gimmick in the architectural field once we solve factors like getting the older generation of customers accustomed to moving around with console controllers, less wires etc; an overall professional feel to the whole thing :)


